riseupriver
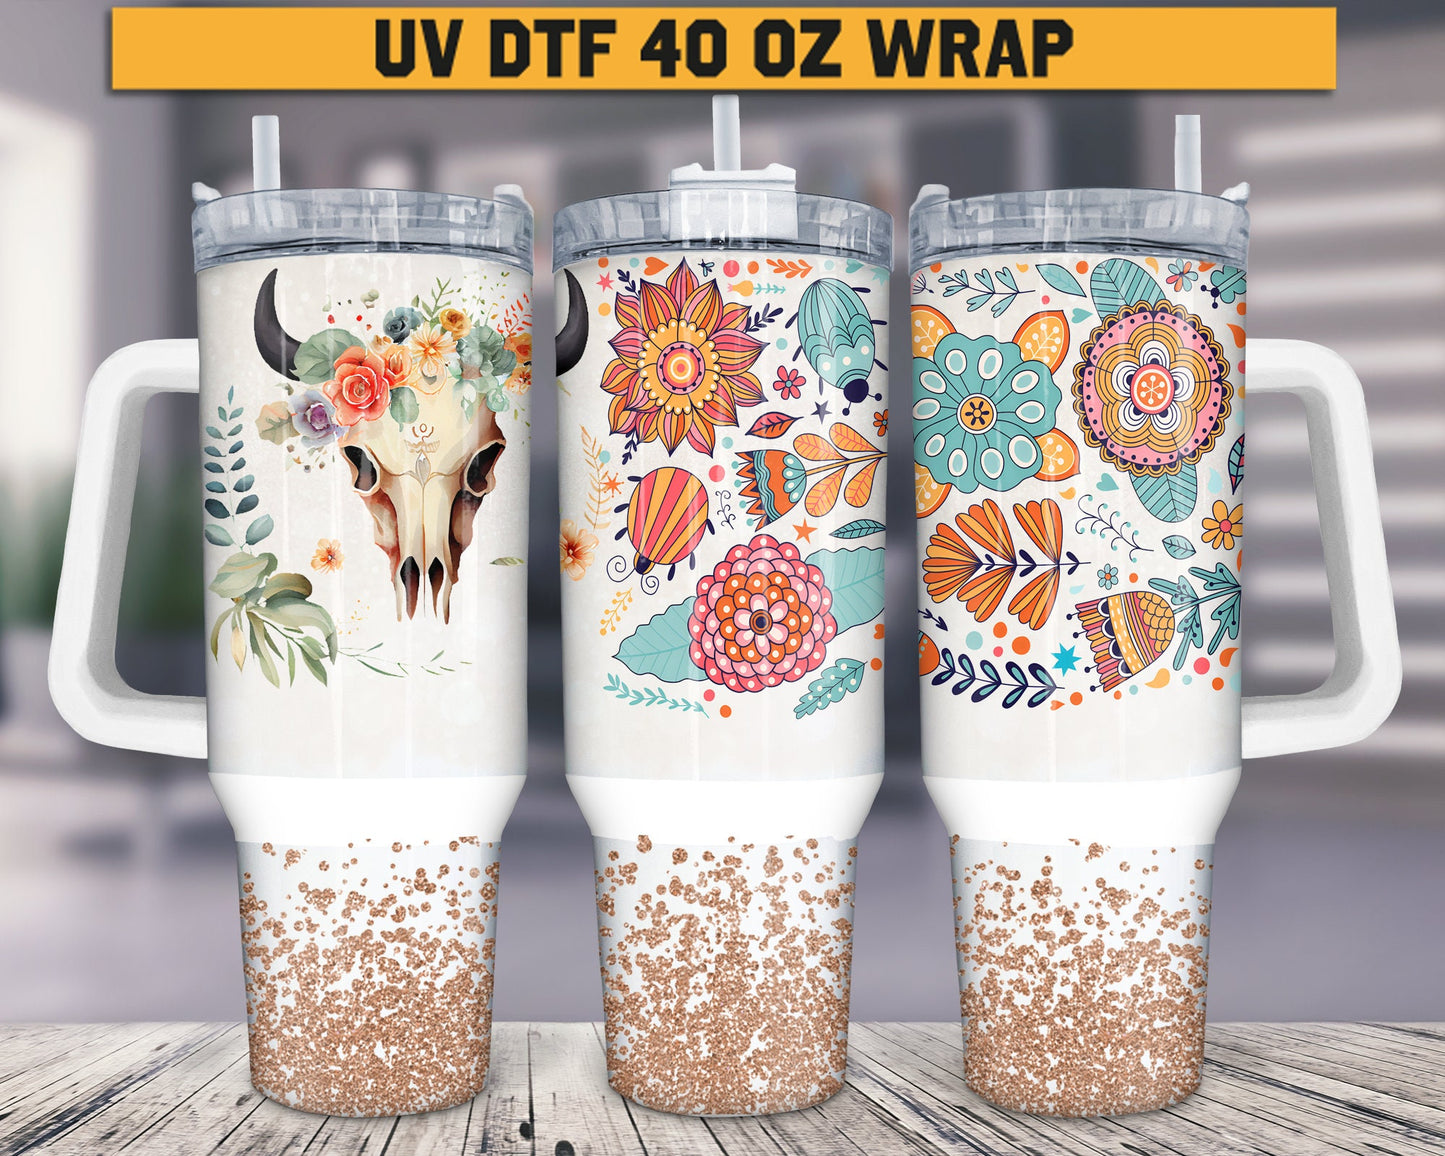
40 oz Western Tumbler Wrap, Teacher Gift Uv DTF Wraps Mama Coffee Cup Ready To Apply, No Heat Needed, Waterproof
40 oz Western Tumbler Wrap, Teacher Gift Uv DTF Wraps Mama Coffee Cup Ready To Apply, No Heat Needed, Waterproof
Couldn't load pickup availability
This is NOT a digital product listing.
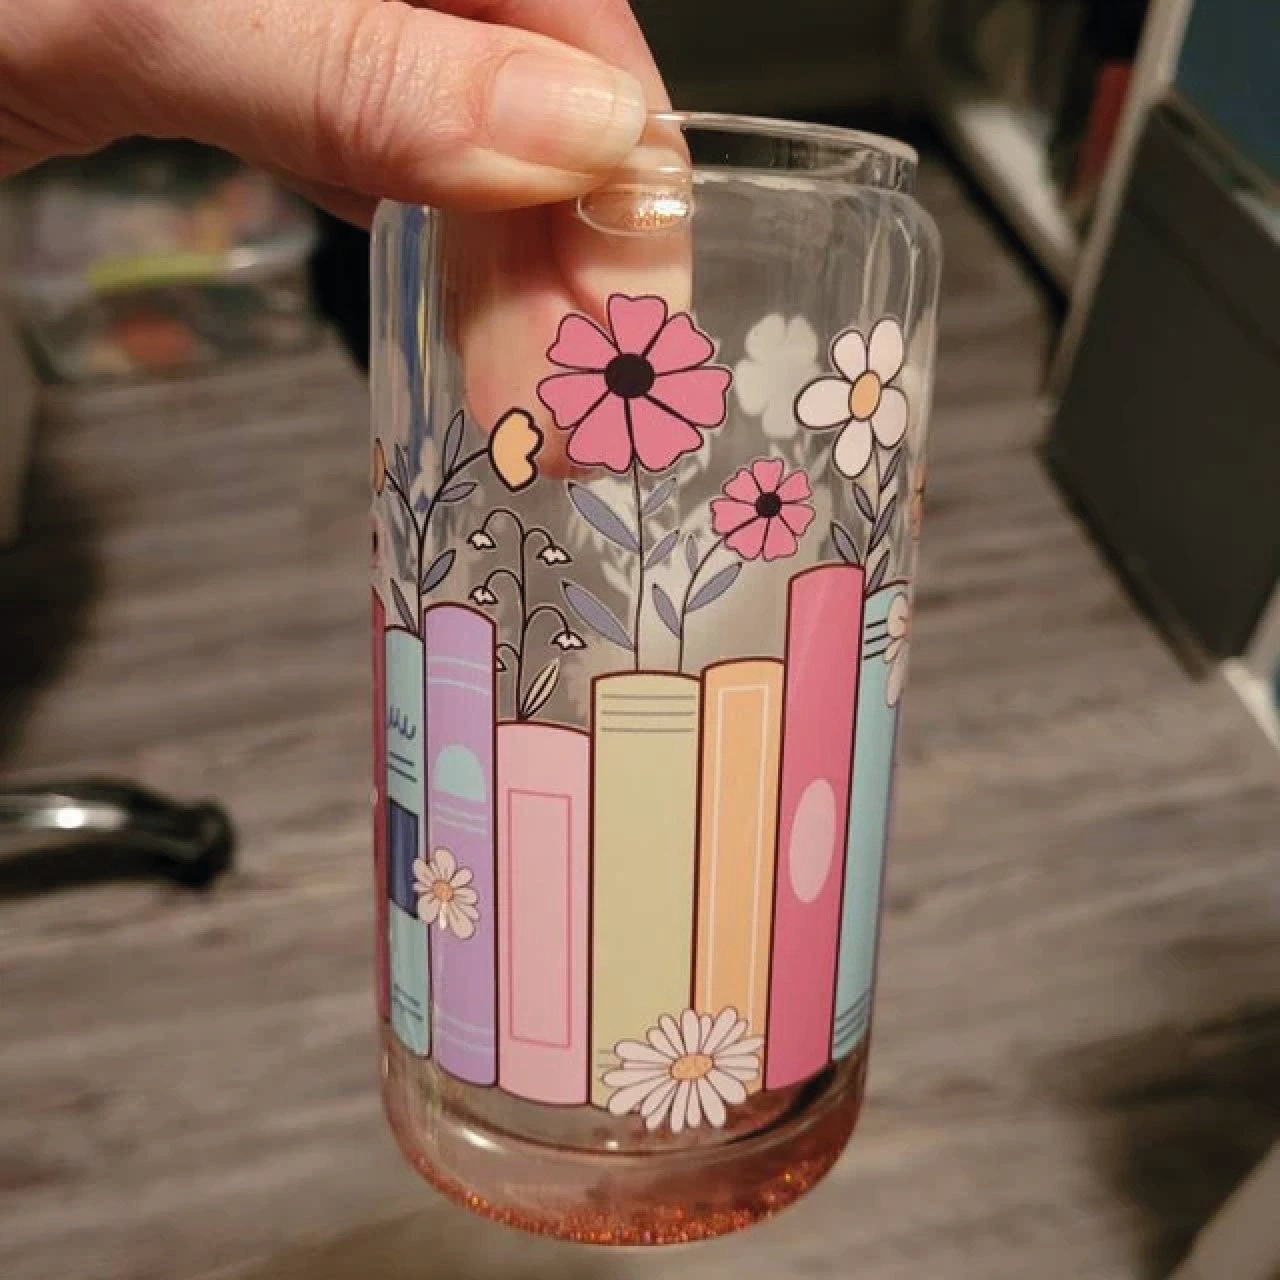
This listing is for 1 UV DTF adhesive cup wrap 40 oz size glass cup size (cup not included) Peemanent and waterproof
1. Prep Your Surface and Pre-Squeegee Your UV DTF
Prepping the Area - Clean the surface of your item before applying the UV DTF using either soap & water or a mixture of rubbing alcohol and water (50/50 mix). The cleaner the surface, the more permanent to natural elements and wear and tear.
Pre-Squeegee - After cutting out your UV DTF, place the design face down with the white side facing up. Using the padded end of the included squeegee or credit card, run over it with hard pressure, back and forth 3-5 times. This forces the design onto the clear carrier sheet.
2. Separating The Clear Carrier Sheet From The White Backing
Separate the clear carrier sheet from the white backing by making a small tear. Do not tear near the design. Next, SLOWLY separate the clear carrier sheet from the white backing. This ensures every piece of your design is lifting onto the clear carrier sheet. If it’s not, set it back down, squeegee again, and try pulling that specific area which didn’t lift from a different side. The more thin and separated design elements there are, such as small text, the slower you should peel. The larger the design elements, the less careful you need to be. You will get a feel for it as you continue to work with my UV DTF.
3. Placing your UV DTF Onto Your Item
First, identify the placement area on your item. Then lay the design down starting from one side and ending at the other. This will help control your placement, reduce bubbles underneath the design, and avoid wrinkling of the carrier sheet which could cause design elements being offset and/or design overlapping. Tip: Leave an edge of the carrier sheet lifted, aka “dog-eared”, so you can easily grip it.
4. Completing The Transfer Process
After placing, use the padded end of the squeegee to run over it with hard pressure, back and forth 3-5 times. This forces adhesion to your item. You are now ready to SLOWLY peel. Again, use your eyes while you peel to ensure every element of your design remains on your item. While peeling, move your grip inward to maintain a controlled peel. If all elements do not transfer, you can lay the clear carrier sheet back down, squeegee hard again, and try pulling that specific area which didn’t lift from a different side.
Handwash only. No microwave or dishwasher
Please be advised we are not responsible for application mishaps. I am not responsible for transfers not applied correctly. I am not responsible for normal wear or tear of cup wrap. Not all 16oz glass can cups are measured the same. Premeasure the wrap onto cup before application adjustments may be necessary.
Each item is handmade and may be slightly different than the picture. Colors may vary depending on viewing screen.
Feel free to reach out to me with questions or concerns.
Share